豚吐露@wiki

install

最終更新:

Bot(ページ名リンク)

- view
管理者のみ編集可

Raspbian install

Raspberry Pi 3 Model B Vi.2 Element14
RASPBIAN STRETCH LITE - Raspbian GNU/Linux 9 (stretch)

OS install

OS imageの取得

以下からdownload。
OS download

今回はRaspbianを入れるので以下から、LITE版。要はDesktop環境の無いものを選んでdownloadする。
Raspbian download
RASPBIAN STRETCH LITE 4.14

OSの導入手順は、 InstallGuide を読んだ方が良い。

OS imageの書き込み

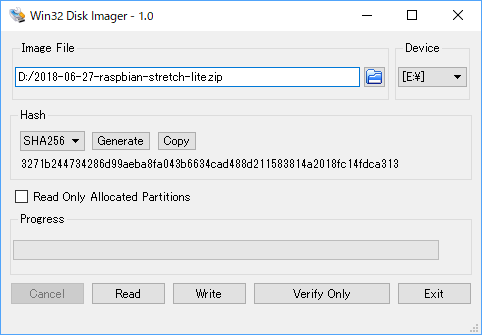
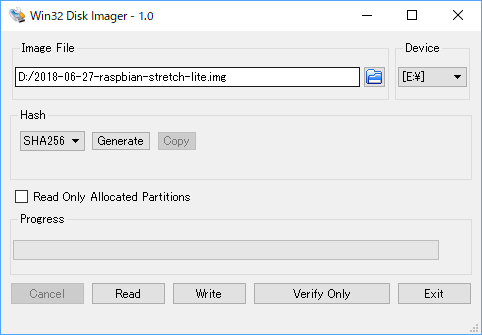
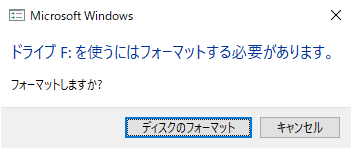
OS imageは、uSDに書き込まないとダメ。
その際、img fileを、imageとして展開できるapplicationが必要となる。
今回は Windows なので、 Win32 Disk Imager をdownloadする。
開いてしばらく待たないとdownloadが開始されないので注意。

他OSはこちらを参照。 Linux MacOS

installは特に困る所は無いと思う。
Startメニューには、『Win32DiskImager』で登録される。
applicationを入れて起動したら、まずはzipを指定してSHA256の値を比較する。
zipを指定したら『generate』を指定。出てきた値をdownloadしたトコにあったhashと比較して同値であることを確認。

download fileに問題が無ければ、解凍する。中にはimgが入ってるので、展開先のdrive(microSD)とimg fileを指定して『Write』を押下。

警告が出るので、対象のdriveが消えて良かったら『Yes』押下。

書き込みが始まる。

書き込みが終わる。

もし、Windwos用にformatしろとお勧めされたらキャンセル。
microSDの中身がLinux向けのformatになるので、windowsから直視できません。そんなmicroSDをつないでるので、警告してきます。

microSDのreader/writerを外す。

Raspbianの起動。

RaspberryPiにmicroSDを刺して電源を入れる。

LITEはCUI環境なので...

Raspbian GNU/Linux 9 raspberrypi tty1
raspberrypi login:

とか表示されたら、以下のIDとpasswordを入力してやる。
ID: pi
Password: raspberry
Raspbian GNU/Linux 9 raspberrypi tty1
raspberrypi login: pi
Password: raspberry

これでloginできたらok。

コンソールに
[3271.831503] Under-voltage detected! (0x00050005)
と表示されたら、USB電源の電力不足。
軽く動かしてみて、大丈夫そうならとりあえず問題無し。

もし頻繁に画面右上に雷マークが表示されたりするようなら、USB電源にRaspberryPi専用の物を買った方が良いかもしれません。
最初出たけど、その後出んなぁ...という状況ならしばらく様子見しても良いと思う。

Raaspbianの設定


設定ツールとして

$ sudo raspi-config

が用意されてる。けど、使ってるのはWiFiの設定くらいかな?それ以外は手動でやってる。
https://www.raspberrypi.org/documentation/configuration/raspi-config.md

設定可能な項目。
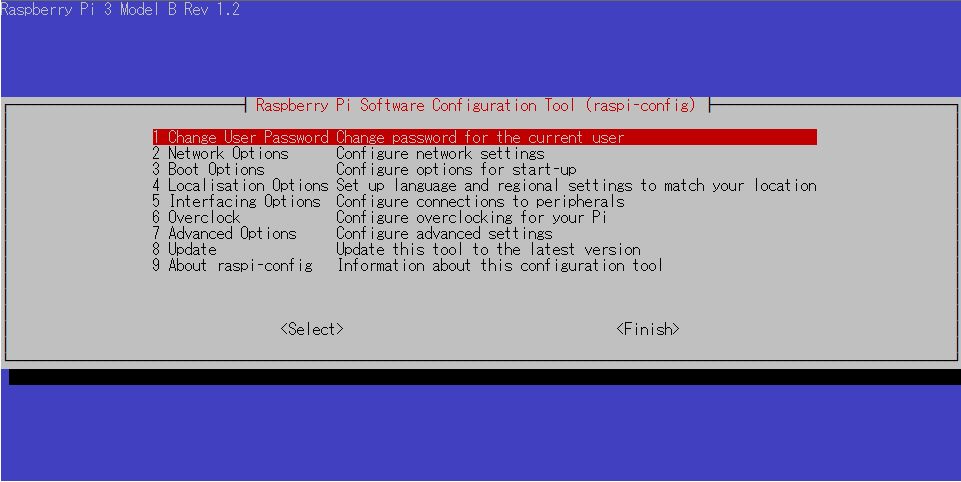
1 Change User Password Change password for the current user
2 Network Options      Configure [[network]] settings
	N1 Hostname                Set the visible name for this Pi on a network
	N2 Wi-fi                   Enter SSID and passphrase
	N3 Network interface names Enable/Disable predictable network interface names
3 Boot Options         Configure options for start-up
	B1 Desktop / CLI            Choose whether to boot into a desktop environment or the command line
	B2 Wait for Network at Boot Choose whether to wait for network connection during boot
	B3 Splash Screen            Choose graphical splash screen or text boot
4 Localisation Options Set up language and regional settings to match your location
	I1 Change Locale          Set up language and regional settings to match your location
	I2 Change Timezone        Set up timezone to match your location
	I3 Change Keyboard Layout Set the keyboard layout to match your keyboard
	I4 Change Wi-fi Country   Set the legal channels used in your country
5 Interfacing Options  Configure connections to peripherals
	P1 Camera      Enable/Disable connection to the Raspberry Pi Camera
	P2 SSH         Enable/Disable remote command line access to your Pi using SSH
	P3 VNC         Enable/Disable graphical remote access to your Pi using RealVNC
	P4 SPI         Enable/Disable automatic loading of SPI kernel module
	P5 I2C         Enable/Disable automatic loading of I2C kernel module
	P6 Serial      Enable/Disable shell and kernel messages on the serial connection
	P7 1-Wire      Enable/Disable one-wire interface
	P8 Remote GPIO Enable/Disable remote access to GPIO pins
6 Overclock            Configure overclocking for your Pi
7 Advanced Options     Configure advanced settings
	A1 Expand Filesystem Ensures that all of the SD card storage is available to the OS
	A2 Overscan          You may need to configure overscan if black bars are present on display
	A3 Memory Split      Change the amount of [[memory]] made available to the GPU
	A4 Audio             Force audio out through HDMI or 3.5mm jack
	A5 Resolution        Set a specific screen resolution
	A6 Pixel Doubling    Enable/Disable 2x2 pixel mapping
	A7 GL Driver         Enable/Disable experimental desktop GL driver
8 Update               Update this tool to the latest version
9 About raspi-config   Information about this configuration tool

以降に、手作業で行ってる事はほとんどtoolを利用して設定可能。

/boot/config.txt


keyboard


以下のfileをjp106に変更して再起動。
$ sudo vi /etc/default/keyboard

before
XKBMODEL="pc105"
XKBLAYOUT="gb"

after
XKBMODEL="jp106"
XKBLAYOUT="jp"


wifi


sudo vi /etc/wpa_supplicant/wpa_supplicant.conf

ctrl_interface=DIR=/var/run/wpa_supplicant GROUP=netdev
update_config=1
network={
  ssid="SSID"
  psk="PASSWORD"
}

sudo vi /etc/network/interfaces.d/wlan0

auto wlan0
iface wlan0 inet dhcp
wpa-conf /etc/wpa_supplicant/wpa_supplicant.conf

設定確認。

sudo wpa_supplicant -i wlan0 -c /etc/wpa_supplicant/wpa_supplicant.conf

wlan0再起動。

sudo ifdown wlan0
sudo ifup wlan0

apt


wget https://archive.raspbian.org/raspbian.public.key -O - | sudo apt-key add -
sudo apt update
sudo apt upgrade

ssh

  • sshd起動
$ sudo service ssh start

  • ssh自動起動設定
$ sudo systemctl enable ssh
Synchronizing state of ssh.service with SysV service script with /lib/systemd/systemd-sysv-install.
Executing: /lib/systemd/systemd-sysv-install enable ssh

  • ssh起動設定確認
有効時
$ systemctl list-unit-files --type=service | grep ^ssh
ssh.service                            enabled
sshd.service                           enabled

無効時
$ systemctl list-unit-files --type=service | grep ^ssh
ssh.service                            disabled


更新日: 2022年12月06日 (火) 10時28分48秒

名前:
コメント:

すべてのコメントを見る
記事メニュー
ウィキ募集バナー