最終更新日 : 2019年05月11日
ATragMX
※注意
システムの理解不足と専門用語の多さで翻訳に苦戦しています。
間違っている箇所があれば随時修正をお願いします。
システムの理解不足と専門用語の多さで翻訳に苦戦しています。
間違っている箇所があれば随時修正をお願いします。
| + | 目次を開く |
[部分編集]
1. 概要
1.1 AtragMXとは
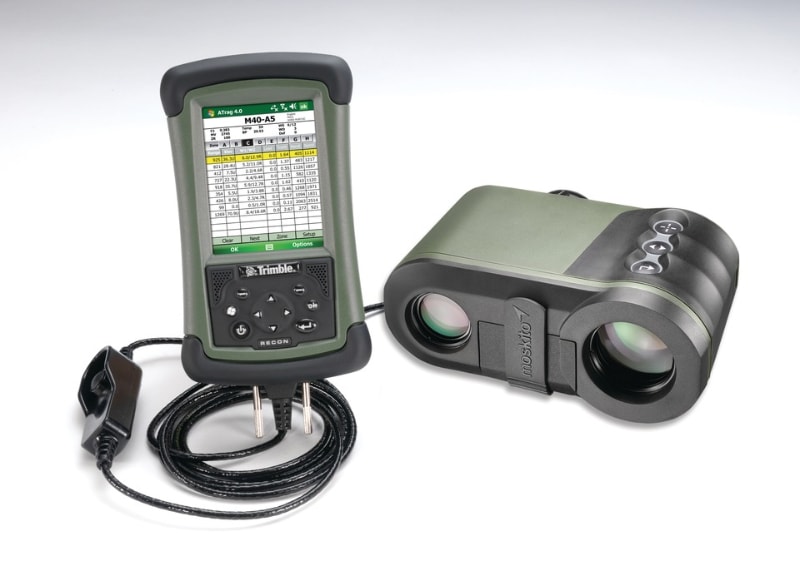
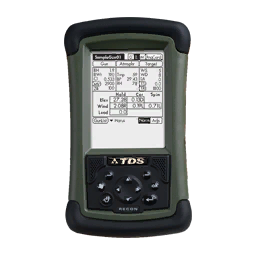
- ATragMXはTDS Recon製の携帯情報端末に搭載されたソフトウェアで、複雑な弾道計算を簡単かつ高速に行うことができます。
- ATragMXは以下の環境値を利用して計算を行います。
- 大気の状態
- 銃のデータ
- 弾薬
- 射撃距離
- 目標の速度
- 弾丸の初速
- コリオリ効果
- スピンドリフト効果
- TDS ReconはMIL-STD-810F軍事基準を満たしており、落下や振動、湿度、極端な温度に耐えることができます。
[部分編集]
2. 使用方法
2.1 AtragMxを開く
2.1.1 インタラクションメニュー
- セルフインタラクションメニューを開く
- 「Equipment」を選択
- 「Open AtragMX」を選択
2.1.2 ショートカットキーの割当
OPTIONS / CONTROLS / CONFIGURE ADDONS / ACE3 Equipment
2.1.3 インベントリ
AtragMXはバックパックに入れるとメニューに表示されないので、ユニフォームかベストに入れてる必要があります
imageプラグインエラー : 画像を取得できませんでした。しばらく時間を置いてから再度お試しください。
[部分編集]
2.2 使用例:M14と7.62mm 20Rndマガジン
作戦開始前に行う設定
- Open the Range Card and check the cartridge, the zeroed distance, the rifle twist, the muzzle velocity at 15°C and the bore height.
- Range Cardを開き、弾薬の種類、ゼロ調整距離、ライフリングツイスト、気温15℃での銃口速度、銃口の高さを確認します。
blankimgプラグインエラー:画像を取得できませんでした。しばらく時間を置いてから再度お試しください。
- Open the AtragMx and the Atmsphr column, select Default and Done. [Manual]
- ATragMXを開き、「Atmsphr」をクリックし、「Default」をクリックして「Done」をクリックする。[Manual]
- Open Gun the 7.62x51mm M80 in the GunList. [Manual]
- 「GunList」を開きリストから「7.62x51mm M80」を選択(ダブルクリック)します。[Manual]
- Select E (English unit) at the top right. [Manual]
- 画面右上のEを選択する(米国慣用単位)。[Manual]
- Open the Gun column, check and update the Bore, the Rifle Twist and Done.
- 「Gun」をクリックし、「Bore」と「Rifle Twist」を確認・更新する。
- Select M (Metric unit) at the top right.
- 画面右上のMを選択する(メートル単位)。
- Open the Gun column, check and update the Muzzle Velocity, the Zero Range and Done.
- 「Gun」をクリックし、「Muzzle Velocity」を「Zero Range」を確認・更新する。
- The Muzzle Velocity Table will be automatically updated. [Manual]
- 「Muzzle Velocity」テーブル(Gun列のMV)が自動的に更新されます。[Manual]
- (Must be edited manually for specific cartridges according with the range card)
- (一部の弾薬ではRange Cardにしたがって、手動で編集する必要があります。)
- Optionally, Save Gun and Done in the GunList.
- (オプション) GunListに設定を保存することができます。
射撃前に行う設定
- Update the Atmsphr column with the Kestrel 4500 and Done.
- 「Atmsphr」の数値をKestrel 4500の情報をもとに更新する。
- Check the new Muzzle Velocity in the Gun column.
- Muzzle Velocityを確認する(Gun欄のMV)。
- Update the Target column (the wind arrow will also help). [1] [2] [3] [4]
- 「Target」を更新します。
- The latitude for all common maps can be found in the ACE3 Github.
- すべての一般的な地図の緯度はACE3 Githubで見つけることができます。
- 一般的に使用されているマップの緯度は ACE3 Github に記載されています。
- Apply the vertical and horizontal elevations on the scope.
- スコープの垂直・水平それぞれのエレベーションノブに適用します。
- 垂直:Elev、水平:wind
- Control the breath and press.
- あとは息を整え射撃するだけです。
以下、発展的な内容
[部分編集]
2.3 ツルーイングツールの使用方法
- Open the Truing Drop in the Options menu. [Manual]
- OptionsメニューからTruing Dropを選択する。 (Manual)
- Add the actual Target Range in the SUPER column and Calc.
- SUPER列にターゲットまでの正確な距離を入力し計算する(Calcをクリック)。
- Add the same Target Range in the SUB column and Calc.
- SUB列に同じ距離を入力し計算する。
- Apply the actual scope elevation in the Drop field and Calc.
- Dropフィールドに正確なスコープのエレベーションの値を入力し、計算します。
- Accept the new C1, Gun column and Elev are updated.
- 計算されたC1によって、Gun列とElevが更新されます。
- The Drag Coefficient Table will be automatically updated. [Manual]
- ドラッグ係数表(Drag Coefficient Table)は自動的に更新されます。(Manual)
- Optionally, Save Gun and Done in the GunList.
- (オプション) GunListに設定を保存することができます。
blankimgプラグインエラー:画像を取得できませんでした。しばらく時間を置いてから再度お試しください。
- If a new Target Range is applied in the Target column, the ballistic coefficient C1 and the elevation Elev will be automatically recalculated.
- Target列に新たな距離が適用されると、弾道係数"C1"とエレベーション"Elev"が自動的に再計算されます。
blankimgプラグインエラー:画像を取得できませんでした。しばらく時間を置いてから再度お試しください。
blankimgプラグインエラー:画像を取得できませんでした。しばらく時間を置いてから再度お試しください。
[部分編集]
2.4 初期ゼロインを変更するには
- The Default zero distance can be overwritten with the Scopes module, the Scopes Framework or the CBA Settings System.
- CBA設定またはScopes Frameworkより、デフォルトのゼロイン距離を上書きすることができます。
- In this case, the Range Card will be automatically updated, NOT the AtragMx.
- この場合、Range Cardは自動で更新されますが、ATragMXはそうではありません。
- Open the AtragMx and the Atmsphr column, select Default and Done. [Manual]
- ATragMXを開き、AtmsphrをDefaultに設定し適用します。
- Open the Gun column, check and update the Zero Range and Done.
- Gun列を確認し、Zero Rangeを更新して適用してください、
blankimgプラグインエラー:画像を取得できませんでした。しばらく時間を置いてから再度お試しください。
[部分編集]
2.5 GunListに新しい銃を追加するには
- Open the Range Card and check the bullet diameter, the bullet weight, the (bullet Class Name) and the muzzle velocities.
- Open the AtragMx and the Atmsphr column, select Default and Done. [Manual]
- Select Add New Gun in the GunList. [Manual]
- Add a New Gun Name and Open Gun.
- Select E (English unit) at the top right. [Manual]
- Open the Gun column, check and update the Bullet Weight (grains), the Bullet Diam (inches) and Done.
Select M (Metric unit) at the top right.
Open the Muz Vel Table in the Options menu or click on MV in the Gun column.
Open the Muz Vel Table in the Options menu or click on MV in the Gun column.
- Edit manually the Muzzle Velocity Table according with the Range Card and Done. [Manual]
- The C1 coefficient of the bullet can be found with the Eden Editor Config Viewer:
configfile » “CfgAmmo” » “bullet Class Name” » “ACE_ballisticCoefficients”
configfile » “CfgAmmo” » “bullet Class Name” » “ACE_dragModel”
- The AtragMx accepts only G1 ballistic coefficient.
- G7 ballistic coefficient can be converted, for example, with the online JBM Ballistics Calculators.
- Optionally, Save Gun and Done in the GunList.
Note: The ballistic coefficient can be calculated by using the 360 Degree Training Course mission as a chronograph at different distances and JBM Ballistics Calculators for example, an another ballistic software at your own convenience, or the AtragMx Truing Tool.
Example direct conversion with .408 Cheytac 305 grains G7 BC 0.279 at 2000 meters 15°C:
blankimgプラグインエラー:画像を取得できませんでした。しばらく時間を置いてから再度お試しください。
[部分編集]
3. オフィシャルマニュアル&ビデオ
4. 資料集
- ATragMX - Handheld ballistics calculator
- Arma 3 ACE3 Sniper Tutorial (Very Quick, Simple, & Easy 12 Steps!)
- ArmA III [ACE3] - Marksmanship - Complete rework>>https://steamcommunity.com/sharedfiles/filedetails/?id=1078577824(?)
[Amazon商品]


